


How to Measure for a Sliding Appliance Tray
Measure the appliance’s widest body point, deepest point, foot positions, loaded weight and full working clearance—not just the flat base—before choosing a sliding tray.
A tray can fit the appliance base and still be wrong. Handles may overhang, feet may miss the support, a mixer head may strike a cabinet when raised or a water tank may need space behind the machine. Record the complete working envelope before comparing dimensions.
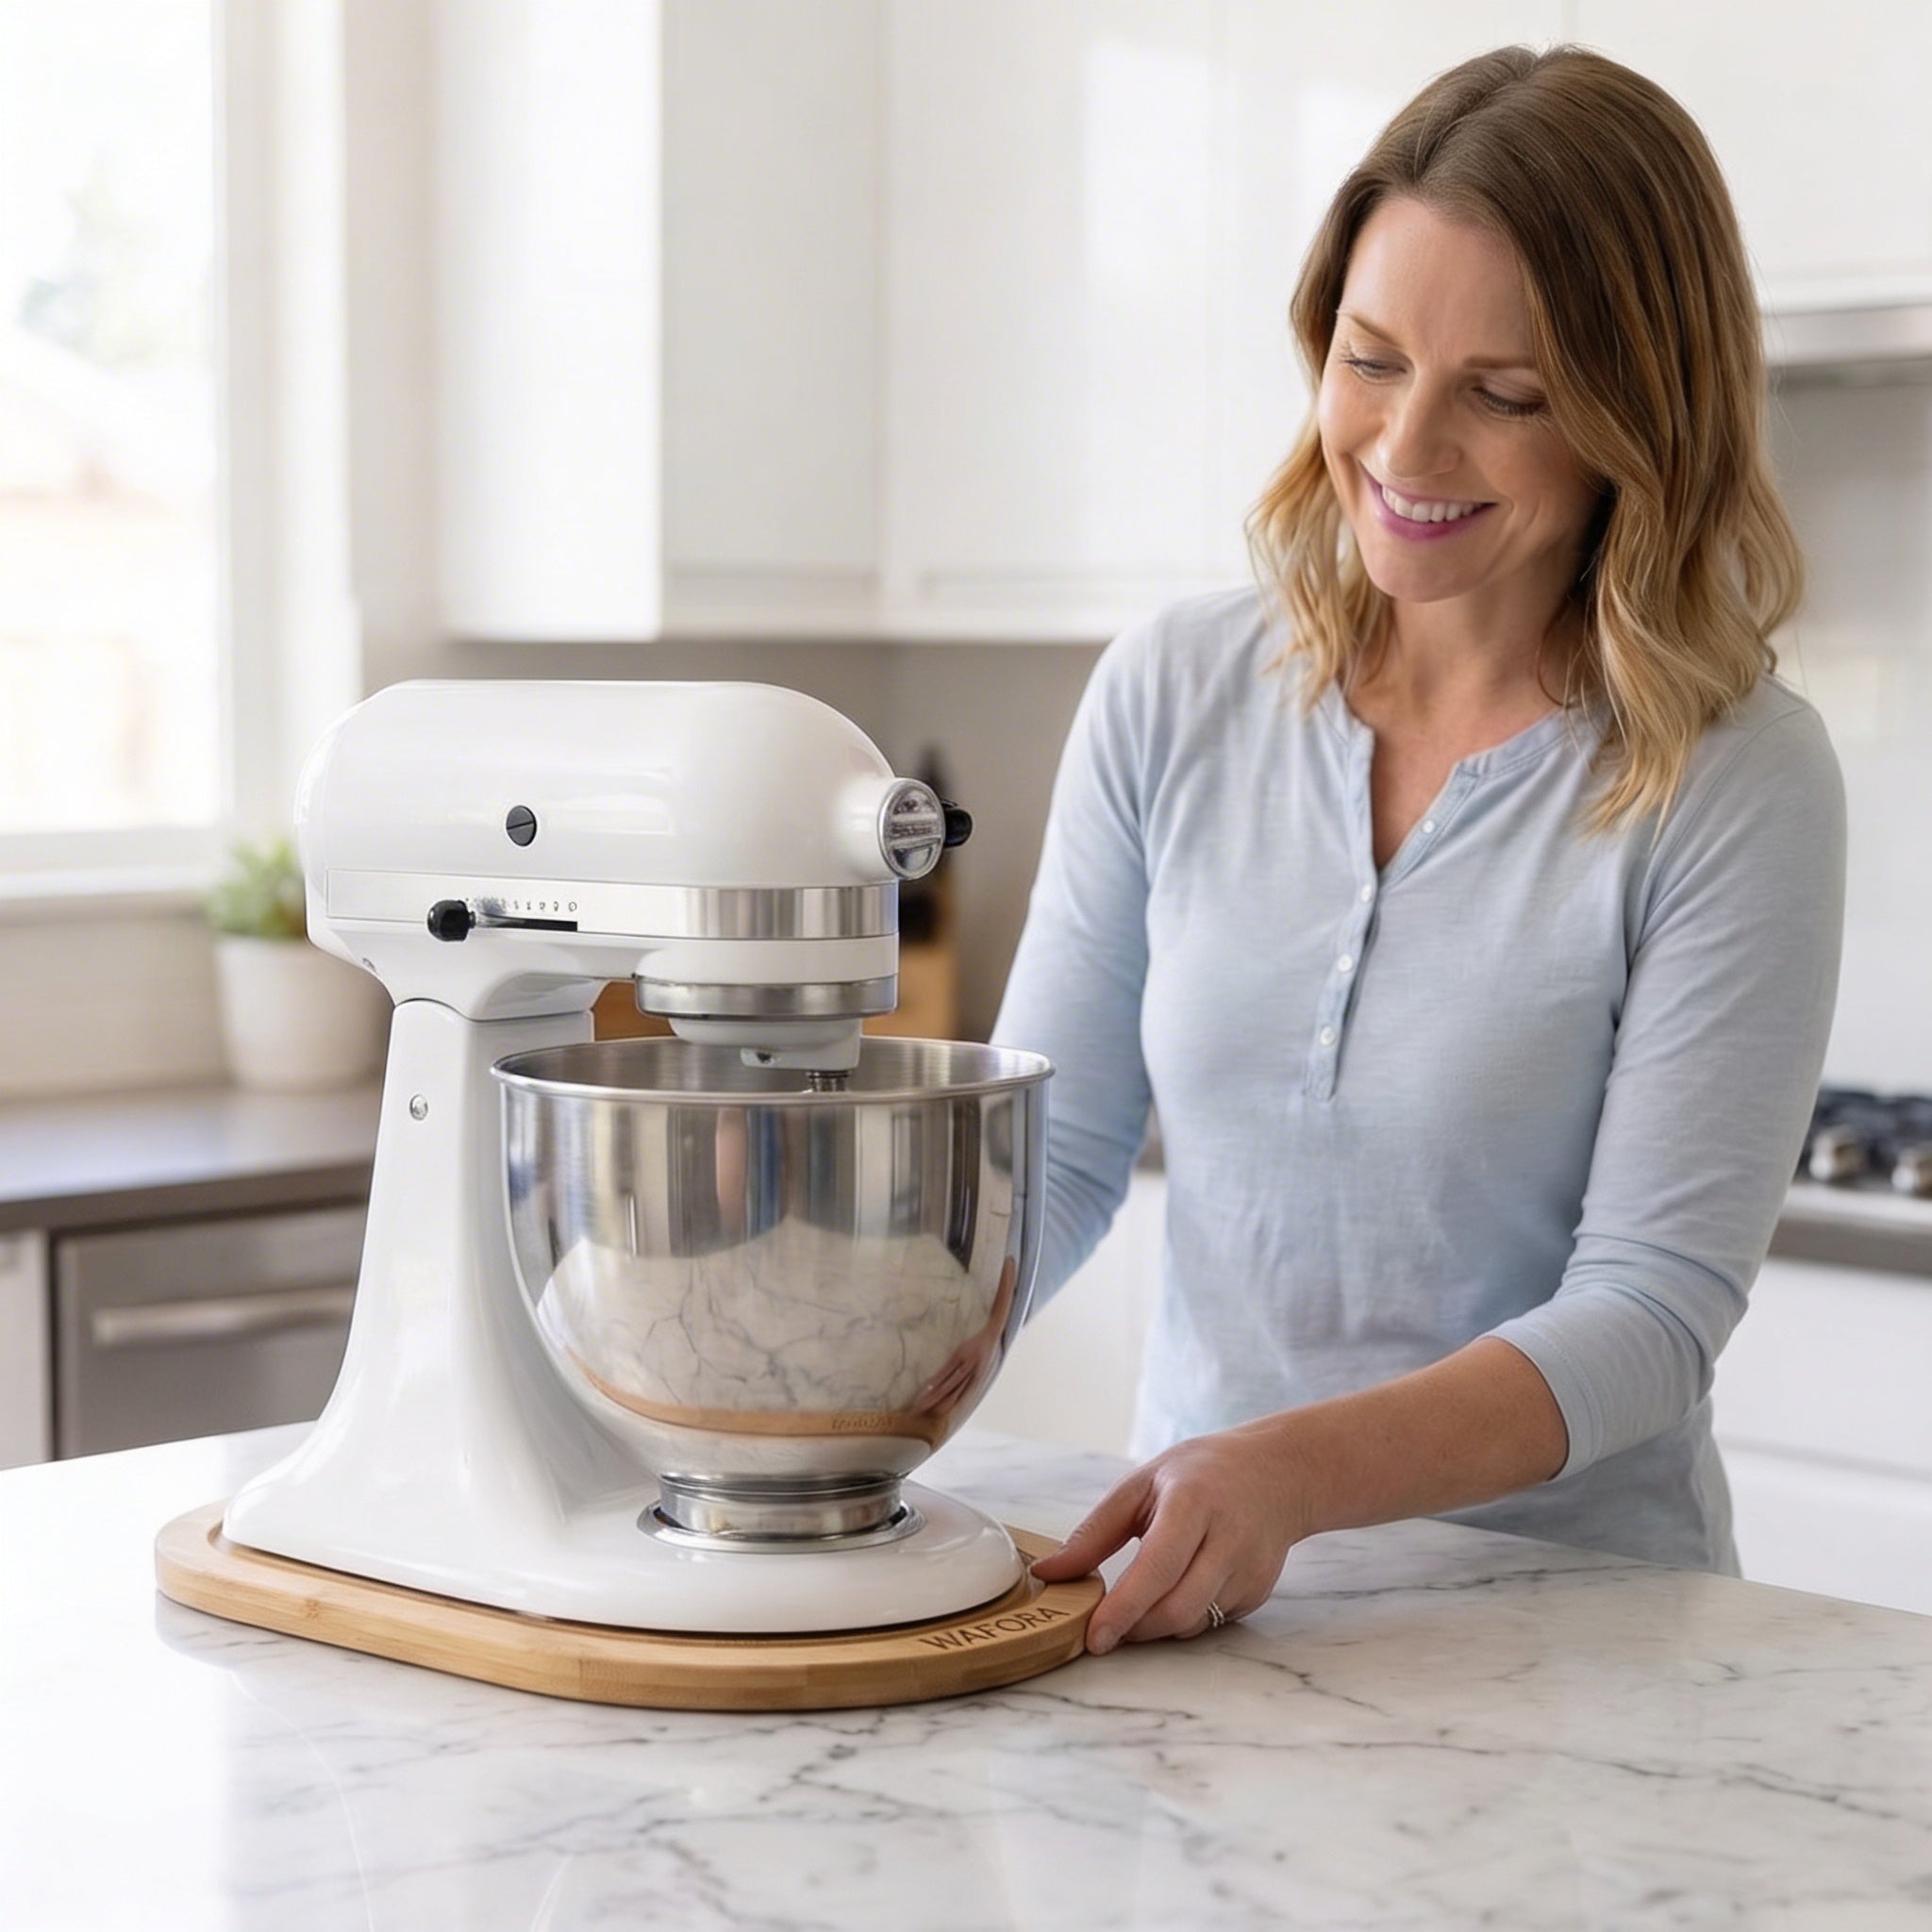
Gather the appliance information first
Use the manufacturer’s published dimensions as a cross-check, but measure your own appliance because installed accessories and handles can change the working footprint.
- Model number and manufacturer manual.
- Appliance weight plus permitted bowls, water or attachments.
- Location of vents, feet, cord and controls.
- Required side, rear and overhead clearance.
- Parts that open, rotate, tilt, detach or become hot.
Measure width at the widest point
Measure from the farthest left projection to the farthest right projection. Include knobs, handles and feet if they extend beyond the body. Then measure the distance between the outer edges of the feet.
The tray must support the points specified by its design without forcing the appliance to sit off-center. Leave any edge margin required by the tray instructions.
Measure depth in storage and working positions
Measure from the rearmost projection to the front edge, including the cord bend when relevant. Next, open lids, attach bowls or handles and measure the maximum working depth.
Check the counter depth and the distance to the front edge. When fully extended, the tray and appliance must remain stable and leave room for the user to work without blocking a walkway.
Check height and movement clearance
Add the tray height to the appliance height. For a tilt-head mixer, measure the raised head. For a coffee maker, measure the fully open reservoir or hopper lid. For a rotating support, trace the widest sweep.
Confirm that cabinets, shelves, backsplashes and outlets remain clear throughout the movement. A paper outline on the counter can reveal collisions before you buy.
Match the support to the load and surface
Compare your measurements with the published limits for WAFORA GlideTray or WAFORA Glide 360°. Include the loaded operating weight, not only the empty shipping weight.
Check the countertop manufacturer’s care advice and keep the surface and support clean. After installation, test the movement with the appliance off and empty. Stop if the support flexes, a foot overhangs or the appliance rocks.
Common mistakes to avoid
- Measuring only the flat base
- Ignoring appliance feet
- Forgetting the tray’s added height
- Using empty weight instead of loaded weight
- Missing a lid, handle or mixer-head movement
- Failing to check the fully extended position
Frequently asked questions
How much bigger should the tray be than the appliance?
Use the tray manufacturer’s required margin. The appliance should be fully supported without overhang, but an excessively large tray may interfere with the counter or walkway.
Do I include the cord in the depth?
Include the space needed for the cord to bend without pinching. Never force the plug or cable against the wall.
How do I find the loaded weight?
Add the appliance weight to permitted water, bowls or attachments normally moved with it. When uncertain, empty removable contents before moving.
Can a tray fit under a tilt-head mixer?
Yes only if the tray supports the footprint and the raised head clears the cabinet in the intended working position.
Make the system easy to repeat
The best setup removes a small point of friction without adding a complicated routine. Measure first, follow the exact care or safety instructions for the products involved, and review the arrangement after a week of real use.
Write down width, depth, foot spacing, loaded weight and working height before comparing WAFORA GlideTray and WAFORA Glide 360°.